Presi (France)
Exlussive Agent: for Presi France distribution of machines and consumables in the field of metallography
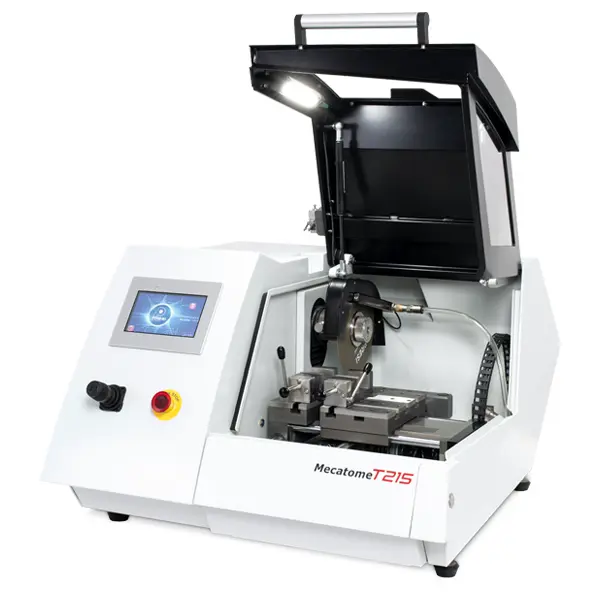
Robust and compact, the MECATOME T215 is an automatic micro-cutting machine. Its three programmable motorized axes make it a machine that adapts to all situations.
The MECATOME T215 offers numerous work parameters that allow to optimize the cutting of the most complex parts.
Accessories and options:
- Quick clamping vice left side for MECATOME T215 (ref. 51466)
- Quick clamping vice right side for MECATOME T215 (ref. 51465)
- Quick clamping vice for long sample for MECATOME T215 (ref. 51469)
- Sample chucks (to use only with a transversal table) for MECATOME T215 (ref. 51410)
- V shaped sample chuck for MECATOME T215 (ref. 51715)
- Vice chuck for longitudinal cuts for MECATOME T215 (ref. 51717)
- Orientable chuck for MECATOME T215 (ref. 51156)to be used with aluminium plates (ref. 51162 et 51163)
- Irregular shaped sample chuck for MECATOME T215 (ref. 51716)
- Chuck for small samples for MECATOME T215 (vice type) (ref. 51713)
- Chuck for cylindrical sample for MECATOME T215 (ref. 51714)
- Base cabinet for manual cutting machine pour MECATOME T215 (large model) (ref. 51470)
- Kopal holding (ref. 50616)
Mounting Machine
Samples can sometimes be difficult to handle because of their complex shape, their fragility or their small size. Achieving a high quality mount is essential to facilitate the handling, to protect fragile materials but also to obtain good preparation results for polishing and future analysis. The advantages of our processing techniques include eliminating the risk of blistering and edges shrinkage are guaranteed.

The last essential and crucial phase of the sample preparation process is polishing. The principle is simple, each step uses a finer abrasive than the previous one. The aim is to achieve a highly reflective flat surface and eliminate residual scratches and defects that would interfere with the analysis of the final results of metallographic controls such as microscopic analysis, hardness testing, microstructure inspections or dimensional inspections.
ardness tests are carried out daily, in different areas of activity, in order to determine the mechanical characteristics of a material (mechanical strength and ductility).
For metallic materials, the different scales of measurement are quite varied. The best known and most used ones are the Vickers, Knoop, Rockwell or Brinell scales.
The hardness of a material means the resistance of a surface of the sample to the penetration of a harder body, for example the ball or the tip (or indenter) of a Hardness Tester. If it withstands it well, it is said to be hard; otherwise, it is said to be soft.
Specifically, hardness is measured by correlating the size of the indentation (Vickers, Knoop and Brinell hardness) or its depth (Rockwell hardness).
This indentation is created using a Hardness Tester that applies the load via the indenter onto the sample to be tested.
Hardness measurements are standardised. Regarding hardness tests and their reference standards::
- Vickers: ISO 6507 and/or ASTM E384
- Knoop: ISO 4545 and/or ASTM E384
Get In Touch
Falcon Lab LLC is a professionally managed material testing equipment company based in the Oman, having branch offices in Kuwait and Qatar.
Address
Building no-522, 8th floor, Office no- 85, Al Jami Al Akbar Street, Nr. National Center for Statistics Ghala, Muscat, Oman.
Phone
+968 24503450
+968 94593114
sales@falconlaboman.com
